
African Flower Crochet Pincushion Tutorial

If you're fairly new to the yarn craft of crochet, you'll be looking for some easy starter projects designed for beginners. This African flower pincushion is one of them because it uses basic stitches and is good for practicing color changes and more.
One of the first things I did when I started crochet was to start making Granny Squares because they are a particularly good way of learning because they are small and quick to make. If this particular pattern is still out of your reach, switch it to any granny "square" or motif that you can do to make your pincushion instead.
You can quickly make up new shapes and motifs either all in one color or with different colors and then sew them together to make items that can be used around the home: cushions, blankets, throws, quilts, coasters, table runners and more.
Note: This post contains affiliate links for which I may be compensated.
Crochet this African Flower Crochet Design OR Another Motif
It's great to start up with a new craft but it can also be a little deflating when you see all the projects and items that you still can't make due to the fact that you're a beginner and haven't yet got a great range of techniques.
I know how galling it is to always see tutorials and patterns over on Pinterest and other places online that are way above your own skill level.
So I've come up with this easy tutorial. It's designed for people who are still fairly new to this craft as well as for more advanced crocheters looking for a quick and easy crocheted gift to make up. I'm giving directions on how to make a sweet pincushion with a cute hexagonal African Flower motif but you can substitute this for any other granny square or shape that you like instead.
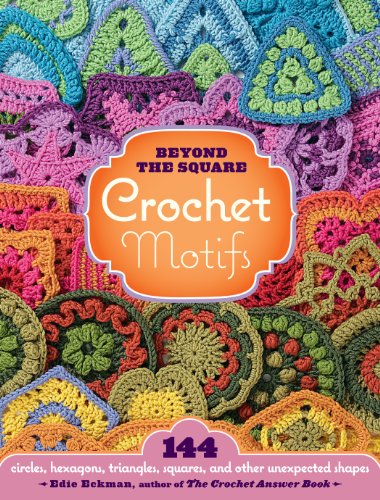
An Excellent Book I Own on Crochet Motifs You Can Make


If you haven't yet mastered how to change colors of yarn in a project, you might prefer a design that uses a single color of yarn and you can make this look more colorful by using some variegated color yarn instead of a solid color.
Either way, you need two small motifs or shapes that are worked in exactly the same way to make up your final pincushion.
The Main Items You'll Need
- Crochet hook - I used size G, 4 mm but stick to your own favorite combo of hook and yarn
- Worsted weight yarn in spring colors of purple, lilac, green and cream
- Acrylic craft felt to line the crocheted motifs
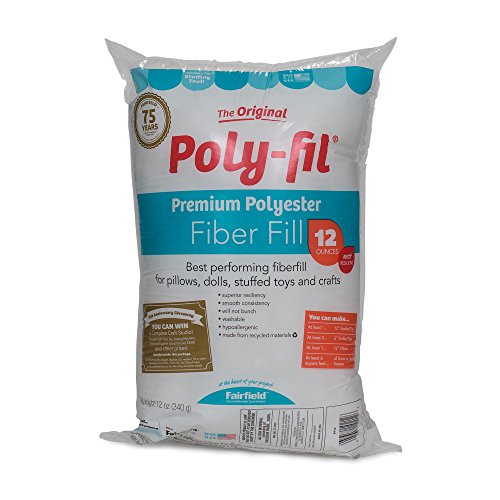
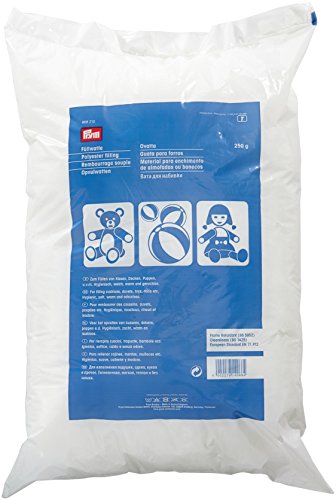
- Polyester toy stuffing or filling
How to Make a Granny Square Crochet Pincushion
Turn any shaped crochet motif or granny square into a sweet little pincushion to make a quick item for yourself and an easy project to complete as a gift. NOTE: To work the actual African Flower Pattern shown here, please refer to:
Hexagonal African Flower Motif Tutorial
Materials and Tools:
- Worsted weight crochet yarn in 4 different colors
- Polyester toy stuffing
- A sheet of acrylic craft felt or fabric for lining
- Embroidery threads (optional)
- Sewing Pins
- Scissors
- Soluble fabric pen or chalk
- Big yarn/darning needle
- Crochet hook size G / 4 mm

1. If you want to make the specific hexagonal African Flower design for this pincushion, then visit my tutorial for the crochet pattern. Otherwise go straight on to step 2.
You can stick at using just three colors if you feel that is going to be large enough for your completed pincushion design - in which case work the pattern up to step 11 on that page.
Alternatively, you can complete the hexagonal motif with the fourth color choice around the edges by going on to step 13. I worked the final border in a spring green color yarn.

2. You need two completed shapes, motifs or granny squares which are the same size. You can choose any design that you're already comfortable with making. Tie or weave in any loose yarn threads at the back. I like to use my Chibi darning needle set to weave in loose ends.

3. You can use tailors chalk or a water soluble pen to draw around your crochet motif twice onto a piece of acrylic felt.
Cut the felt pieces just slightly smaller than your crochet motifs - this is so the felt will sit neatly underneath the crocheted design when you sew it up into a pinsuchion.
Choose a color that will look good when visible through the stitch holes in the pattern of your crochet. I opted for a lilac which works with my choice of spring colors.
If you want to wash your completed pincushion at some point, pick out some washable fabric instead and sew up any raw seams so they do not fray. Felt does not wash well but it is an excellent fabric for pincushions since the pins glide in and out nicely on this thick and soft fabric.

4. Pin the felt pieces to the backs of your motifs or shapes. You can see how mine are cut just slightly smaller so the felt does not show when viewed from the front edges.

5. Stitch the felt to the backs of your motifs. I just use a quick whip stitch for this. Use whatever stitch is quick and easy and one that you are comfortable with sewing. You should be able to sew into the back of the crocheted design without any stitches being visible from the front.

6. If you want to add on some custom embroidery to the top of your pincushion pattern, now is the time to do this on one of your motifs.
Iris Embroidery Floss Pack Variegated ColorsPremium Rainbow Color Embroidery FlossDMC 117F25-PC36 Embroidery
 Premium Rainbow Color Embroidery Floss
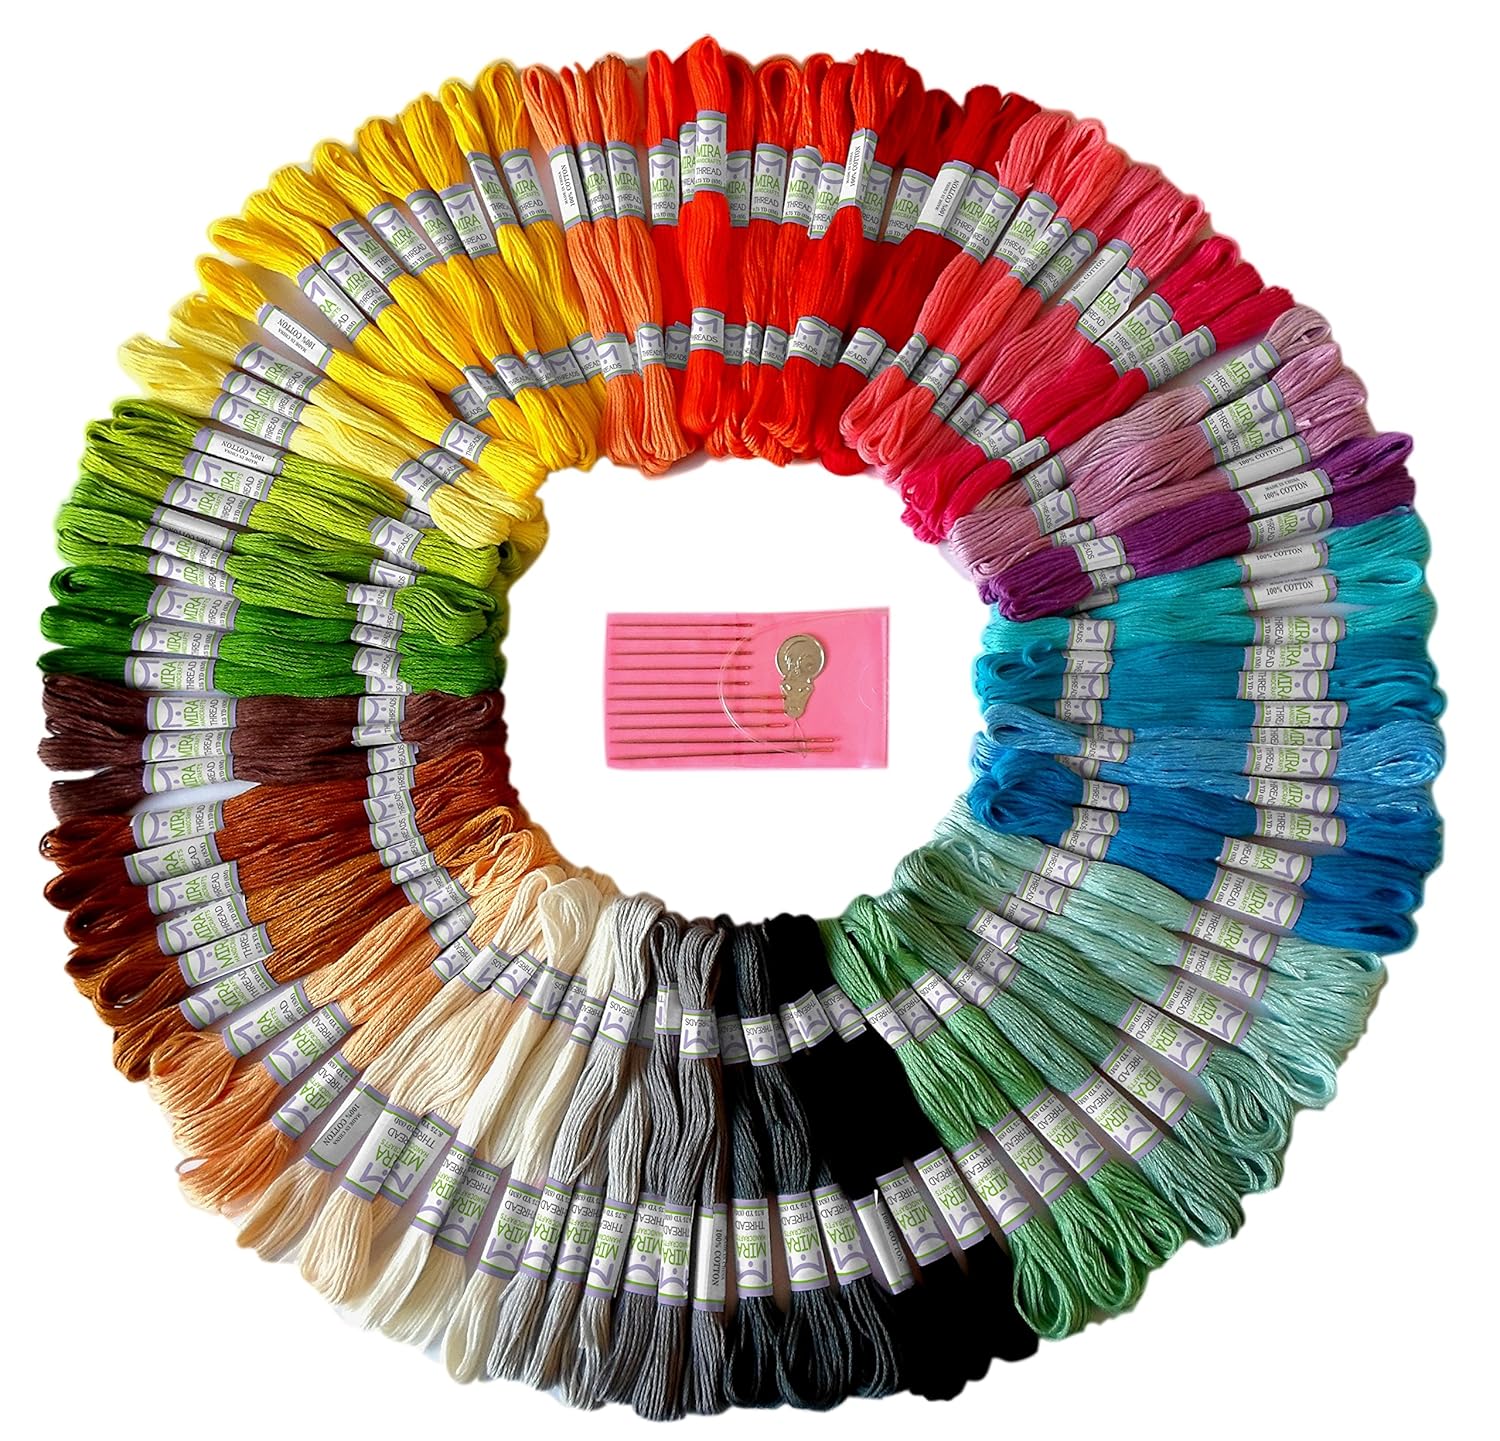 DMC 117F25-PC36 Embroidery

7. Choose a darning needle and the same color yarn as the edge color of your crocheted pieces and start sewing them together.
I like to position each piece with the insides placed together in the middle - you can pin them together if you want to secure while you are sewing. Then I sew a running or straight stitch just under the very edge stitches of the crochet. This leave a visible but neat seam around the middle of your finished pincushion. I happen to like this seam but you might not.
Otherwise you can choose to sew the pieces together in your own preferred way - some people use whip stitch instead. Just don't sew all the way around the motifs because you need to leave a gap big enough to fill it with some toy stuffing.

8. Push plenty of polyester stuffing into the pincushion once you have sewn most of the way around. You need to really pack it in well (you always add in more than you think you need) and push it in until it feels like it is firmly padded. Use a pencil or your fingers to push more in if the hole is quite small.
When it feels nice and full, sew up the last little area. Then knot the yarn and weave or sew in any loose threads. You can see a completed photo of my finished pincushion below.

This design uses both felt fabric and crochet to create a colorful pin keep. You can enjoy using this yourself with your crafting or give it away to someone who particularly likes to sew. Enjoy the step by step tutorial.
Related Content You Should Also Love:
Make My Easy Sunburst Squares into Pincushions Instead
Crochet Banners, Bunting and Hanging Decorations
Make a Felt Fairy House Pincushion
Crochet Banners, Bunting and Hanging Decorations
Make a Felt Fairy House Pincushion
Page Last Updated:
Comments
Post a Comment
CraftyMarie is a craft themed website by Marie Williams Johnstone. I love to craft in the winter and garden in the summer. I make handmade cards, papercrafts, crochet and seasonal crafts. I enjoy many of the more traditional crafts and hobbies including sewing, embroidery and working with felt and fabric. Thanks for leaving me a comment. Comments do not show up until I approve them. Marie