
How to Make Hobbit House Fairy Door Cookies
Any fan of The Hobbit, The Lord of the Rings or other fantasy books and movies should adore these easy to make Hobbit house fairy door cookies. These cookie designs are based on Tolkien's own description of the famous round Hobbit door that belongs to Bilbo, and later, Frodo Baggins.
Fans of the fantasy novels and movies The Hobbit and also The Lord of the Rings, will love a gift of these fun fairy door cookies. This charming round door makes a cute and easy fairy fantasy style cookie to enjoy.
Perhaps you love the idea of having your very own round front fairy door. These cookies are so quick and easy to make using a selection of circle cookie cutters and some ready to roll rolled fondant icing. The fondant is very easy to use - it's just like Play Doh in your kitchen.
Note: This post may contain affiliate links for which I can be compensated.

Like many people, I've been a fan of the popular Tolkien fantasy novels since I was old enough to read the books. But, more than that, I'm just a huge fan of Hobbits - perhaps because I'm small, perhaps because I have a definite fondness for food but certainly not because I have hairy feet.
Make your own Hobbit door cookies for yourself, to gift to other fantasy and fairy enthusiasts or for a really fun fantasy party or event. Have fun cooking up a true piece of Tolkien nostalgia.
Enjoy making these cute round fairy door cookies for Tolkien fans, fantasy enthusiasts and anyone who's ever dreamed of living in a fairy home with a little round door.


Prep time 45 min - Total time 90 min
Ingredients for approx 20 small servings
113g unsalted butter
113g caster sugar
1 beaten egg
1/2 teaspoon vanilla extract
225g plain flour
Circle cookie cutters
Ready to roll rolled fondant icing
Apricot preserve fruit spread - small amount for adding fondant
Visit AllRecipes.com if you need a vanilla sugar dough cookie recipe with US measurements or use your own cookie dough recipe.
Put your sugar and softened butter together in a big mixing bowl. Mix by hand or use the easy option and use an electric whisk. When these two ingredients are combined, add 1 egg and your vanilla extract in the bowl as well. Resume mixing until combined.
Add in the flour and whisk until you get a crumbly dough mixture. This is the part where you have to dig in and get your hands messy - push the dough together into a firm, round ball. Cover the vanilla dough with some plastic food wrap and place it in your refrigerator for about 30 minutes.

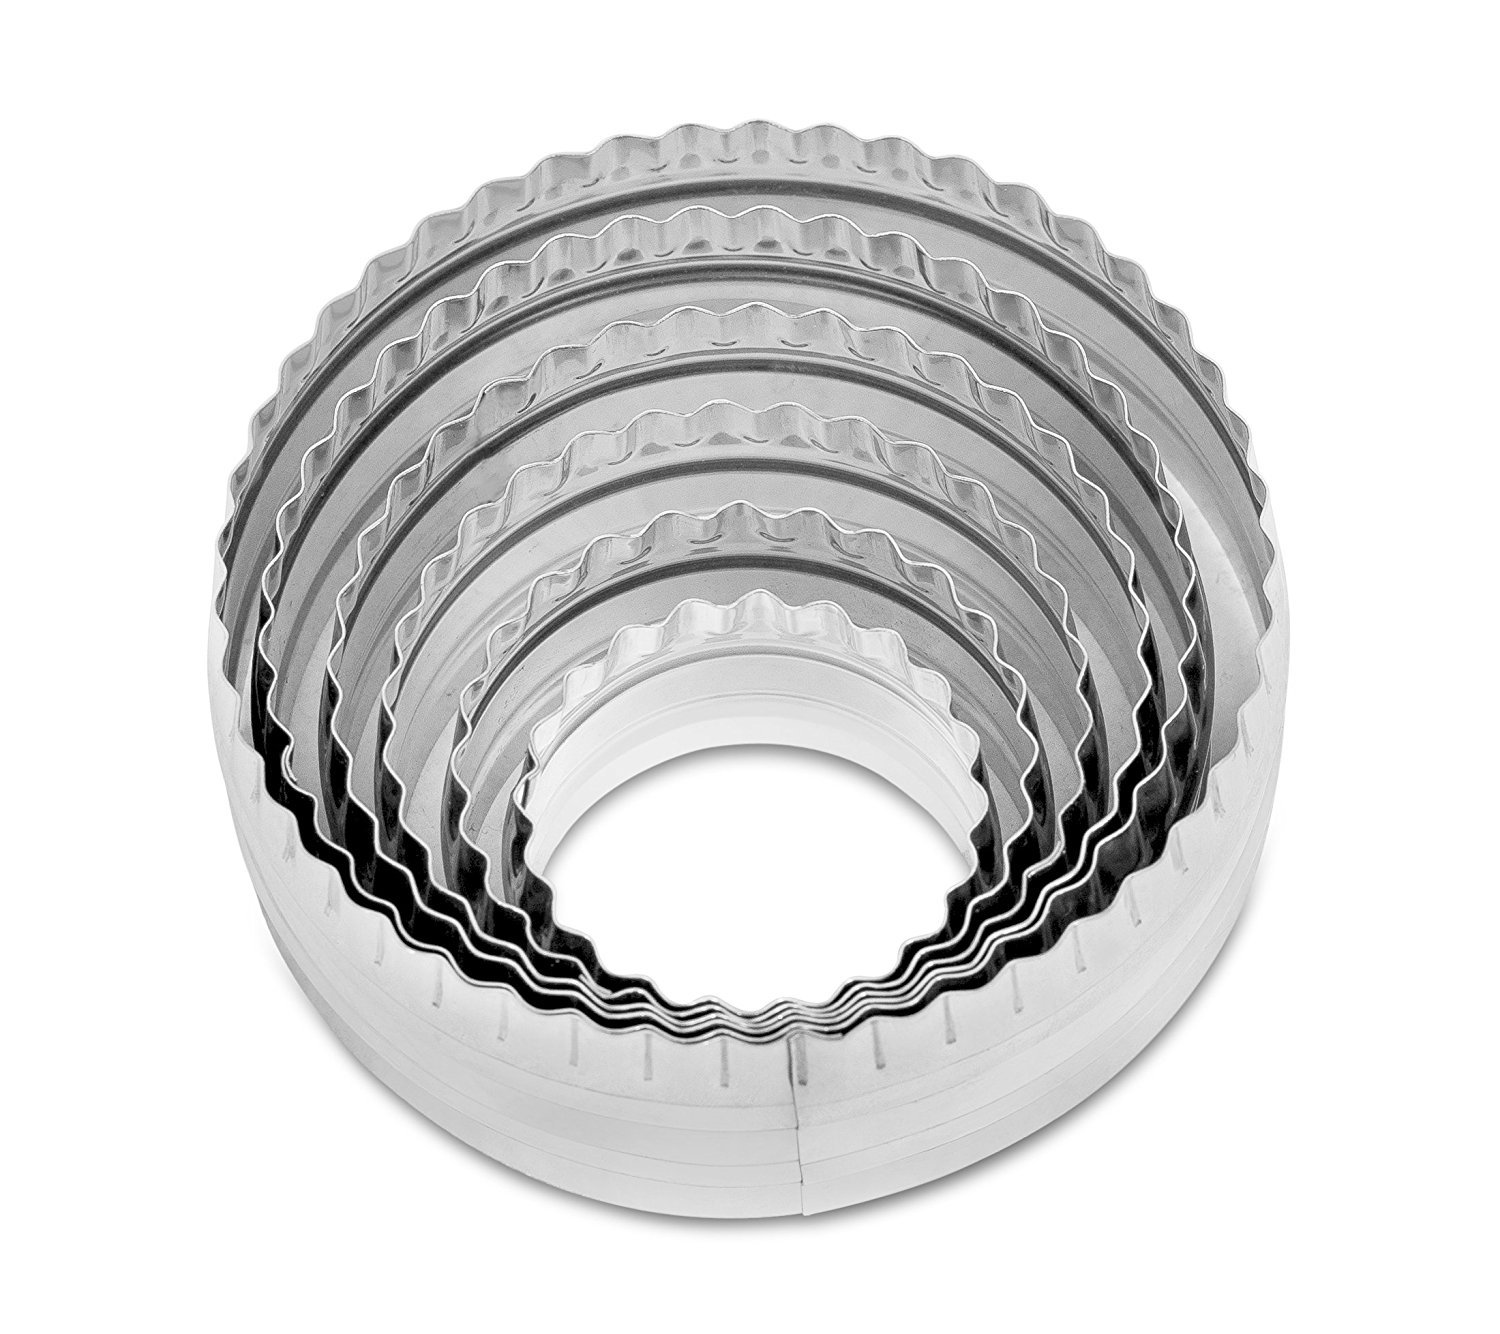
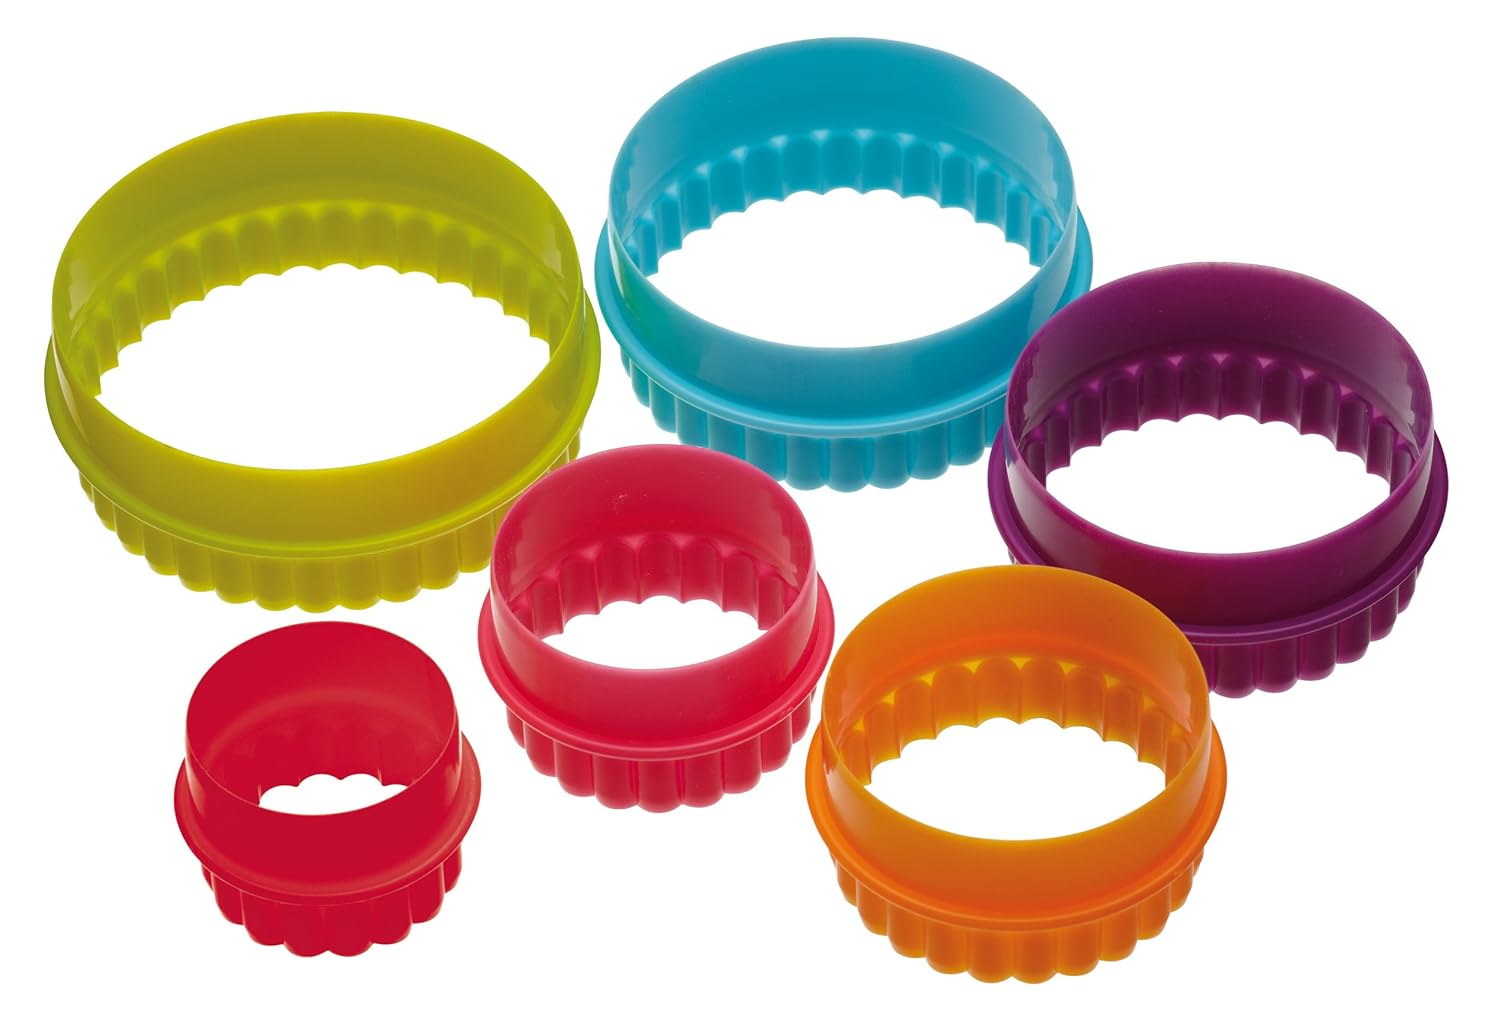
Now is a good time to choose your cutters. You need 3 circle cookie cutters. The largest one for the cookie bases, a slightly smaller cutter for the brown fondant icing which is the hobbit door frame and a slightly smaller cutter for the green hobbit door. If you don't have a set of circle cutters, you can cut around different shaped small bowl rims or mugs.
After the dough's been chilled, roll it out on a large, flat kitchen surface. If there's too much dough to roll the whole lot out - just roll half out first. I roll my cookies out to around 5mm thick but you can make them the thickness you prefer - they don't rise in the oven so whatever thickness you roll is the thickness the cookies will be.
Cut out as many circles as you can from the dough with your largest circle cutter. Bake the cookies on lightly floured baking trays on Gas 4 (350°F / 177°C) for about 10-12 mins. They'll be a nice golden brown when ready. Place onto cooling racks to cool down.

You need a small packet of brown ready-to-roll rolled fondant icing, about the size of your hand. Or just buy a whole tub so you can easily save what you don't use for another project.
I use Regal-Ice fondant which comes in a ton of color choices and is easy to play (sorry) bake with. It's really like using Play Doh. You will need to read the instructions on your packet or tub but prime the work surface and your hands with a sprinkling of confectioners' sugar (or Icing sugar as it is alternatively known) and then roll out a thin sheet of brown fondant.
Use the medium sized circle cookie cutter to cut out enough brown circles to match up with the number of cookies you've made. If you want to add in extra detail, mark a cross or plus sign shape + by pressing into the fondant with a knife. Then add a X over the top. This makes the brown fondant look more like brick work around the Hobbit fairy door cookie when done.

Use the smallest circle cutter to make a green Hobbit door that Bilbo Baggins would be proud of.
You need some ready to roll green rolled fondant icing. Roll it out and use the confectioners' sugar or Icing sugar to stop it from becoming too sticky. You can brush the white dust this sugar leaves off with a cooking brush once your cookies are finished.
Cut out all your green Hobbit doors. To give the impression of painted, green wood, mark some vertical stripes across each door using a knife.

A flat, blunt knife like a palette knife will come in handy here for moving the fondant.
Fill a tiny bowl with cold water and dip your finger into it. Wet the middle of the brown fondant to the rough size of the green fondant. Slide your blunt knife under a piece of green fondant and place it in the middle of the brown to make a door. Repeat for the rest of your pieces.

Microwave for a short 10 second burst or warm a small pot (2-3 tablespoons) of apricot preserve fruit spread. Carefully spread a tiny amount of preserve in the middle of a cooled cookie to the rough size of the fondant Hobbit door you've just made.
Pick up a fondant door by sliding a blunt knife underneath and place it in the middle of your cookie. Press down lightly and put to one side while you complete the rest of your cookies.

I've used small pieces of chocolate coated candy in yellow for little, edible door knobs. To fix each door knob in to place, you just need a small amount of water. Dip a little finger into some cool water and dab this into the middle of your cookie.
Now Come and Make a Matching Hobbit House Card
Press a piece of candy or whatever edible item you have which makes a great door knob into the middle. Leave your fondant cookies to dry out on a tray. And enjoy your little piece of Tolkien and fantasy style nostalgia.
Related Content You Should Also Love:
Page Last Updated:
Fans of the fantasy novels and movies The Hobbit and also The Lord of the Rings, will love a gift of these fun fairy door cookies. This charming round door makes a cute and easy fairy fantasy style cookie to enjoy.
Perhaps you love the idea of having your very own round front fairy door. These cookies are so quick and easy to make using a selection of circle cookie cutters and some ready to roll rolled fondant icing. The fondant is very easy to use - it's just like Play Doh in your kitchen.
Note: This post may contain affiliate links for which I can be compensated.
How to Make Hobbit House Fairy Door Cookies Easy Cookie Tutorial
Like many people, I've been a fan of the popular Tolkien fantasy novels since I was old enough to read the books. But, more than that, I'm just a huge fan of Hobbits - perhaps because I'm small, perhaps because I have a definite fondness for food but certainly not because I have hairy feet.
Make your own Hobbit door cookies for yourself, to gift to other fantasy and fairy enthusiasts or for a really fun fantasy party or event. Have fun cooking up a true piece of Tolkien nostalgia.
Instructions to Make Fairy and Hobbit Door Cookies
Enjoy making these cute round fairy door cookies for Tolkien fans, fantasy enthusiasts and anyone who's ever dreamed of living in a fairy home with a little round door.
You Need a Set of Circle Cutters to Make These Cookies
Prep time 45 min - Total time 90 min
Ingredients for approx 20 small servings
113g unsalted butter
113g caster sugar
1 beaten egg
1/2 teaspoon vanilla extract
225g plain flour
Circle cookie cutters
Ready to roll rolled fondant icing
Apricot preserve fruit spread - small amount for adding fondant
Visit AllRecipes.com if you need a vanilla sugar dough cookie recipe with US measurements or use your own cookie dough recipe.
Step 1: Make the Vanilla Sugar Cookie Dough
Put your sugar and softened butter together in a big mixing bowl. Mix by hand or use the easy option and use an electric whisk. When these two ingredients are combined, add 1 egg and your vanilla extract in the bowl as well. Resume mixing until combined.
Add in the flour and whisk until you get a crumbly dough mixture. This is the part where you have to dig in and get your hands messy - push the dough together into a firm, round ball. Cover the vanilla dough with some plastic food wrap and place it in your refrigerator for about 30 minutes.
Step 2: Cut out and Bake the Round Cookie Bases
Now is a good time to choose your cutters. You need 3 circle cookie cutters. The largest one for the cookie bases, a slightly smaller cutter for the brown fondant icing which is the hobbit door frame and a slightly smaller cutter for the green hobbit door. If you don't have a set of circle cutters, you can cut around different shaped small bowl rims or mugs.
After the dough's been chilled, roll it out on a large, flat kitchen surface. If there's too much dough to roll the whole lot out - just roll half out first. I roll my cookies out to around 5mm thick but you can make them the thickness you prefer - they don't rise in the oven so whatever thickness you roll is the thickness the cookies will be.
Cut out as many circles as you can from the dough with your largest circle cutter. Bake the cookies on lightly floured baking trays on Gas 4 (350°F / 177°C) for about 10-12 mins. They'll be a nice golden brown when ready. Place onto cooling racks to cool down.
Step 3: Making the Brown Fondant Fairy Door Frame
You need a small packet of brown ready-to-roll rolled fondant icing, about the size of your hand. Or just buy a whole tub so you can easily save what you don't use for another project.
I use Regal-Ice fondant which comes in a ton of color choices and is easy to play (sorry) bake with. It's really like using Play Doh. You will need to read the instructions on your packet or tub but prime the work surface and your hands with a sprinkling of confectioners' sugar (or Icing sugar as it is alternatively known) and then roll out a thin sheet of brown fondant.
Use the medium sized circle cookie cutter to cut out enough brown circles to match up with the number of cookies you've made. If you want to add in extra detail, mark a cross or plus sign shape + by pressing into the fondant with a knife. Then add a X over the top. This makes the brown fondant look more like brick work around the Hobbit fairy door cookie when done.
Step 4: Making the Green Hobbit Door
Use the smallest circle cutter to make a green Hobbit door that Bilbo Baggins would be proud of.
You need some ready to roll green rolled fondant icing. Roll it out and use the confectioners' sugar or Icing sugar to stop it from becoming too sticky. You can brush the white dust this sugar leaves off with a cooking brush once your cookies are finished.
Cut out all your green Hobbit doors. To give the impression of painted, green wood, mark some vertical stripes across each door using a knife.
Step 5: Assembling the Round Fondant Door
A flat, blunt knife like a palette knife will come in handy here for moving the fondant.
Fill a tiny bowl with cold water and dip your finger into it. Wet the middle of the brown fondant to the rough size of the green fondant. Slide your blunt knife under a piece of green fondant and place it in the middle of the brown to make a door. Repeat for the rest of your pieces.
Step 6: Adding the Fondant Fairy Door to Your Cookies
Microwave for a short 10 second burst or warm a small pot (2-3 tablespoons) of apricot preserve fruit spread. Carefully spread a tiny amount of preserve in the middle of a cooled cookie to the rough size of the fondant Hobbit door you've just made.
Pick up a fondant door by sliding a blunt knife underneath and place it in the middle of your cookie. Press down lightly and put to one side while you complete the rest of your cookies.
Step 7: Add the Door Knob Detail
I've used small pieces of chocolate coated candy in yellow for little, edible door knobs. To fix each door knob in to place, you just need a small amount of water. Dip a little finger into some cool water and dab this into the middle of your cookie.
Now Come and Make a Matching Hobbit House Card
Press a piece of candy or whatever edible item you have which makes a great door knob into the middle. Leave your fondant cookies to dry out on a tray. And enjoy your little piece of Tolkien and fantasy style nostalgia.
Related Content You Should Also Love:
How to Make Hobbit Feet Cookies
Hobbit Cake Designs and Ideas
Hobbit Perler Beads Fun Fantasy Craft
More Hobbit and LOTR Cookie Ideas
More Fantasy Crafts
Hobbit Cake Designs and Ideas
Hobbit Perler Beads Fun Fantasy Craft
More Hobbit and LOTR Cookie Ideas
More Fantasy Crafts
Page Last Updated:
Comments
Post a Comment
CraftyMarie is a craft themed website by Marie Williams Johnstone. I love to craft in the winter and garden in the summer. I make handmade cards, papercrafts, crochet and seasonal crafts. I enjoy many of the more traditional crafts and hobbies including sewing, embroidery and working with felt and fabric. Thanks for leaving me a comment. Comments do not show up until I approve them. Marie