Button Butterfly Crochet Motif Free Pattern

Learn to make up these cute mini butterfly motifs with crochet: a fab way to use up those little leftover pieces of yarn!
This free photo pattern tutorial will help you to whip up some quick and easy mini butterfly motifs. These small embellishments are made with 3 separate colors although no tricky color changing is required for the actual crochet.
The completed pieces measure approximately a couple of inches high depending on the thickness of the yarn, size of the hook and how tightly or loosely you happen to work your stitches.
These make useful and cute small decorations which look especially good for adding to projects made for kids. Mine were made for my young daughter's party banner. Come and see how to make your own.
Note: This post contains affiliate links for which I may be compensated.
What You Will Need for this Project
- Selection of colorful yarns in 3 different shades for each motif
- Crochet hook
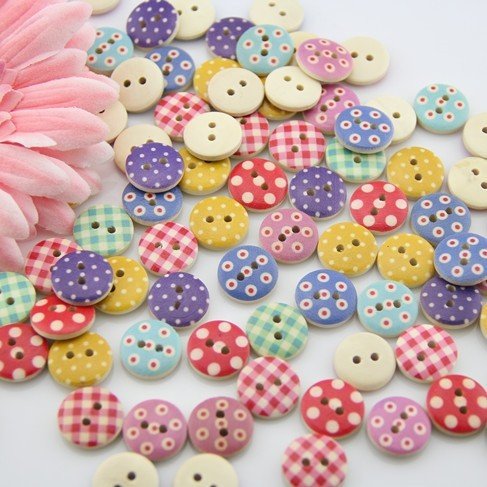
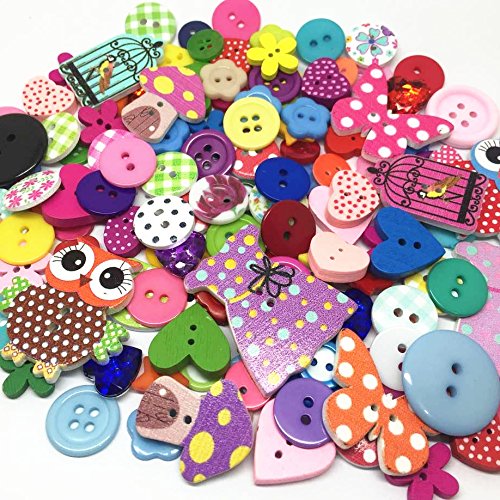
- Colored buttons
- Darning needle
You'll need some yarn in a selection of colors that work well together. For small motifs and decorations, I am more than happy to use acrylic yarns which come in a great supply of colors and are inexpensive to buy.
The size of crochet hook you will need will depend on your yarn and how tightly/loosely you crochet. I like my 4mm hook for most projects but you could easily use a 4.5 or 5mm hook depending on what you prefer.


There's also the extra option of adding in a button to the middle and this little enhancement also provides a clever way to neatly sew your motif onto something else. You can add them to hats, headbands, purses, blankets, throw pillows and banners or bunting for a cool detail.
Colorful buttons really finish off these motifs nicely and have a double purpose since they are also used as an easy way to sew the finished butterflies onto another project like a hat, blanket, throw pillow, banners or bunting, clothing or something else.
I needed a cute and easy motif that would work on some crochet banner bunting for my daughter's birthday party. I initially thought of flowers but I'd already made those for something else so we settled on having butterflies instead.
Despite being worked in 3 colors, these are easy to make because 1 color is 'sewn' on top with your hook (or you could embroider it with a needle instead) and another is merely tied on to make the antennae. So the main pattern is all crocheted in a single color which makes it relatively easy for beginners too.
Crochet in the Round to Make the Basic Motif
Please Note: Instructions are given using American US Terms. For this pattern, you need to know Single Crochet SC (dc UK) ; Double Crochet DC (tr UK) ; Treble Crochet TR (dtr UK)

Step 1: We are going to start out by making a circle to crochet into. If you know how to make a magic circle or ring, you can use that technique. Otherwise, make a chain of 4. Then slip stitch back into the first chain you made, to make your ring.
If you've never done this before and you think it is too hard, look up 'How to Crochet in the Round' online as there are lots of help guides available. It's very easy when you get the hang of it. Here's a video above which is helpful.

Step 2: Chain 1, then into the middle of the circle or ring you just made work 8 sc (single crochet) stitches. Join back to the first stitch with a ss (slip stitch) and then move to step 3.

Step 3: Chain 2, work 4 dc into the first stitch.

Step 4: Chain 2 and anchor this chain into place by doing a ss into the next stitch along around the ring. This finishes off one small wing on the butterfly.

Step 5: Chain 2, work 4 dc into the next stitch, chain 2 and ss into the next stitch to finish the second small wing.

Step 6: Now we are starting the bigger wings. Chain 3, work 4 tr into the next stitch, ch 3, ss into the next stitch. That finishes the 3rd wing.

Step 7: Chain 3, 4 tr in the next stitch, ch 3 and ss into the next stitch and fasten off yarn. Your butterfly should look like the picture here with 2 larger wings and two smaller ones around a ring in the middle.
You can now choose to decorate your motif further or skip the next section and start from step 13 to finish it off.
Learn How to Work Surface Crochet Slip Stitch

Step 8: You may not have tried this technique before. It is called surface crochet slip stitch which allows you to decorate the top of any crocheted piece with your hook - it looks like an embroidered chain stitch when done.
In fact, if you don't want to learn to do this with your hook, you can embroider with a darning needle and your yarn instead.
To start surface crochet slip stitch, make a slip knot as normal on your hook. Remove the slip knot from your hook and place it at the back of your crocheted piece where you want to start adding detail.
Push your hook through from the front to catch the slip knot at the back and pull it through to the front - as shown in the image here. Your slip knot should now be on the hook at the front of your crocheted piece. The video above can teach you this technique.
Push your hook through from the front to catch the slip knot at the back and pull it through to the front - as shown in the image here. Your slip knot should now be on the hook at the front of your crocheted piece. The video above can teach you this technique.

Step 9: Push your hook down through a new section of crochet in the direction you want to go (I work this decoration round near the edges of the wings) so the hook comes through the back. Wrap your yarn over as you would to normally make a stitch and hook this through to the front.

Step 10: Draw the yarn over through the loop on your hook to make a surface stitch on your butterfly.

Step 11: Repeat this surface stitch process to work a chain pattern around the edges of your design. At first, it may feel odd but keep practicing because it soon becomes second nature to work this easy decorative stitch. And it adds a great pop of color when used in a contrasting shade of yarn.

Step 12: When you get to the end of working this surface stitch, you need to fasten off. Pull the last stitch on your hook from the front of your design to the back where you can tie it off as normal.

Step 13: This image shows the back of the butterfly applique design. You now need a small amount of cut yarn in a 3rd color to make the antennae or stalks.
Tie a simple knot (shoelace / bow knot) between the middle of a small and a large wing on one side and a small and large wing on the other. The larger wings are going to make the top of the butterfly.

Step 14: Now turn to the front and tie a double knot at the top of the butterfly which forms the body part down the middle and also the antennae - cut the yarn to the size you want for the antennae.

Step 15: Here are some finished designs. You can leave them like this or do what I prefer and use a button to sew them through the middle and onto something else.
You can see how I've done this with my image below. Once you've got the hang of making these, they are very fast to work. You can make yours more individual by doing a different surface design if you like. Have fun!

You may not get much of a change in color when working up a small motif like a butterfly. But you can use the different colors in the yarn to make working many of these embellishments a breeze since you know they will all look good in your finished project. Snip off different colors to add on the antennae or stalks of this beautiful flying insect.
Related Content You Should Also Love:
Page Last Updated:


Comments
Post a Comment
CraftyMarie is a craft themed website by Marie Williams Johnstone. I love to craft in the winter and garden in the summer. I make handmade cards, papercrafts, crochet and seasonal crafts. I enjoy many of the more traditional crafts and hobbies including sewing, embroidery and working with felt and fabric. Thanks for leaving me a comment. Comments do not show up until I approve them. Marie