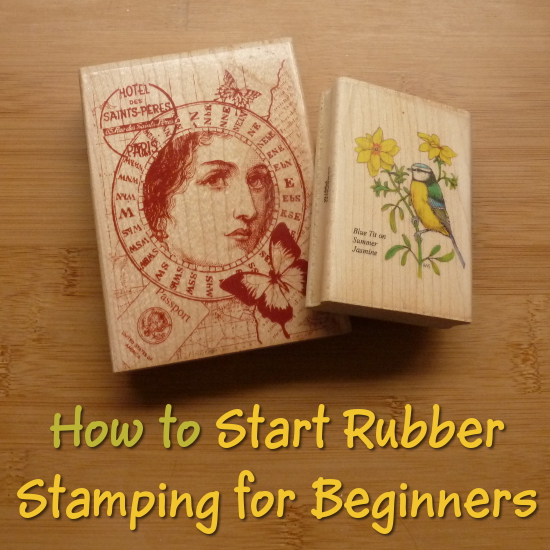
How to Start Rubber Stamping Beginner Tutorial

Rubber stamping is a brilliant craft that both kids and adults can do. This beginner craft tutorial shows you step by step how to start rubber stamping. Combine this technique with other paper crafts such as card making and scrapbooking for wonderful creations.
Getting started with stamping is fairly easy and you can learn new methods gradually as you feel more confident with it. Stamping on paper is very easy to do but there are also many challenging techniques that you can progress to. As you get more confident with this activity, you can learn new techniques such as heat embossing and making cracked glazes.
Note: This post may contain affiliate links for which I can be compensated.
1: What is Rubber Stamping?
Rubber stamping is essentially a method of printing. You have a raised design cut into a material such as rubber which you add ink to. You then press this inked design down on to a suitable surface to make a print. Beginners would normally print their rubber stamp design on a paper based medium. However, it is also possible to print on fabric, wood, glass, plastic or metal depending on the type of ink.

Image Credit: photo belongs to the author.
You can make prints with the same stamp over and over which makes it ideal for repeating designs and motifs for greeting cards, gift tags, scrapbooks, bookmarks, stationery and backing or gift wrap.
This is a paper craft that allows anyone, even someone who has absolutely no artistic talent of their own, to make fab looking and professional handmade cards and crafts.
2: How to Start Rubber Stamping with a Simple Beginner Tutorial
1: The Basic Essentials That You Need to Rubber Stamp

Image Credit: photo belongs to the author.
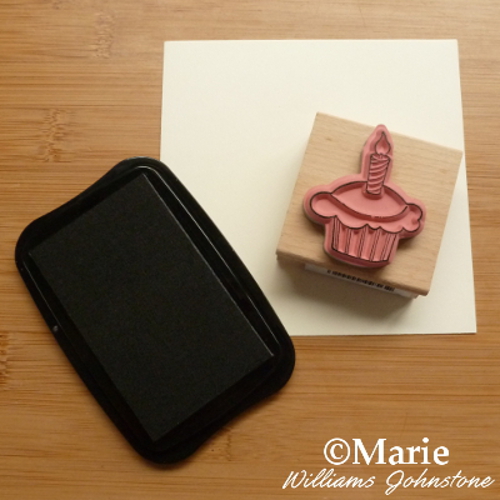
The three main items that you need are a rubber stamp design, a piece of smooth and light colored paper or card and an ink pad. You can learn more about rubber stamps and ink pads to choose after this beginner tutorial on how to start rubber stamping.
Place your rubber stamp flat on your table or work surface with the section that needs inking facing up towards you.
Small cube or tear shaped ink pads such as Memento Dew Drops take up less space in a craft or storage box and they are often easier to use for a beginner.
2: Inking Up the Rubber Stamp Design and Making a Print on Paper

Image Credit: photo belongs to the author.
Take your ink pad to your stamp and lightly tap the ink pad over the rubber. Do this until it looks like you have a good, even coverage. Coverage of ink is easier to see with a dark color such as black. Black makes an ideal beginner ink to start with.
Take your inked stamp and firmly press it down on your paper or card. Hold it securely in place with one hand while you press around the top of the stamp with your other hand.
The padded area beneath your thumb is good to press down with. Be careful not to move the stamp or rock it while you're doing this else you risk getting a smudged print.
3: Getting the Print Right

Image Credit: photo belongs to the author.
Carefully lift off the design from your paper or card by pulling it straight upwards. It's always a good idea to test your inked up stamp first on some scrap paper.
If the middle of your printed image has a much fainter impression than the edges, it suggests you're either not stamping on a totally flat surface or you're not pressing hard enough in the center of your stamp.
You should get a perfect impression every time if you press right. Practice until you get the technique right.
Some Tips on Starting Rubber Stamping as a Beginner

Image Credit: photo belongs to the author.
Smaller stamp designs are easier to ink up with little ink pads such as Memento Dew Drops. You can get lots of ink pads in square cube or tear drop shapes which are easier to use with small motifs and sentiments. Just be aware that dye based inks tend to dry faster while pigment based inks are slower drying which makes them easier to smudge. So wait for the ink to dry properly before moving on.
Simpler designs, motifs and even text and wording can look very effective as background designs across a sheet of paper. You can transform a blank greeting card in this way or even gift paper just by repeating a simple design over an area. It looks perfectly natural to go off the page with your design so you get a really random effect.
Larger designs can make for great centerpieces. They often look good just on their own, particularly if you’ve used a metallic ink pad or have embossed the design.
You can also add in a splash of color with Marvy pens, marker pens, watercolor paints, coloring pencils, Copic markers and craft chalks.
While you can afford to make some minor mistakes with a background design as it's there as an overall effect, a main centerpiece that isn't printed well will stick out.
Don't print straight on a greeting card blank or your scrapbook layout because that is asking for a mistake to happen.
Stamp the design instead on some good quality paper or card and then, once the image is dry, use a clear ruler to mark out where you're going to cut it. You can then layer up the printed image on card before sticking it down on your finished project.
3: Selecting the Right Ink Pad Before You Start Rubber Stamping

Image Credit: photo belongs to the author.
Although it is great to rush out and buy loads of equipment when you begin a new craft, you don't need to with this one. You can get by with just one black ink pad to start with.
Black is one of the most used colors when it comes to inks for a good reason. It shows up really well on most projects, gives you a really nice solid outline if you want to color in the image afterwards and you can use it over the top of a variety of colored and even patterned papers.
If I had to recommend just one ink pad, and there are tons to choose from, then it would be the jet black StazOn ink pad by Tsukineko. This ink is quick drying, gives a clear print and will print on a range of materials including glossy card, shrink plastic and most acetate. It is one pad that works with lots of projects.
However, as a solvent based ink, you need special StazOn cleaning fluid to clean the ink off the stamps after use. You may prefer inks that are easier to clean, in which case look for dye based inks which dry fast and are a good beginner choice. Alcohol free baby wipes are ideal for wiping ink off your stamps.
4: Choosing Some Rubber Stamp Designs to Start With
There are a number of different types of designs that you can opt for. Most beginners, whether kids or adults, would do well to choose traditional wooden designs to start with. You can get ones with handles for children which are easier for smaller hands to grasp and hold. Melissa and Doug have a great range of rubber stamps ideal for kids.
Think about the type of design you might get a lot of use out of. If you're wanting to use them to make greeting cards, look for a single, large motif with an interesting image that you could color in or print over the top of patterned scrapbook card and paper.
If you're looking to make specific stationery such as invitations then sentiments and wording are a better choice. Smaller items like gift tags will work better with simple and small designs and motifs.
I've written a page on what you need for this craft which is also here on this site. It tells you about the different types of inks as well as other beginner tools and materials that you can use.
Start Simple and Gradually Build Up Your Stamping Skills
Example of a Handmade Card with a Central Stamped Image and Sentiment
The best way to learn this craft is to start doing it. Get yourself a black ink pad and a stamp that you like and practice inking the stamp up and making perfect impressions on paper. When I started this craft, I first stamped on scrap paper before I felt confident that my prints looked really crisp and good. It is important to make sure that you can get clean-looking prints before you move on to anything else.
Sentiment stamps with simple greetings are perfect for scrapbook page titles and handmade cards which need a message. These are great if you don't trust to your own handwriting skills and are a useful addition along with any images that you choose for your first rubber stamps.
Related Content You Should Also Love:
Page Last Updated:


Comments
Post a Comment
CraftyMarie is a craft themed website by Marie Williams Johnstone. I love to craft in the winter and garden in the summer. I make handmade cards, papercrafts, crochet and seasonal crafts. I enjoy many of the more traditional crafts and hobbies including sewing, embroidery and working with felt and fabric. Thanks for leaving me a comment. Comments do not show up until I approve them. Marie