Using Peel Off Stickers for Card Making

I've used peel off stickers for so long that it's almost hard to believe that there are still some crafters yet to hear of these. However, if you're new to making cards and other papercrafts, you may not yet have discovered just how good these can be.
This page is packed with lots of ideas, inspiration and techniques on how you can use peel off stickers in your card making and crafting. These embellishment sheets are also often known as outline stickers.
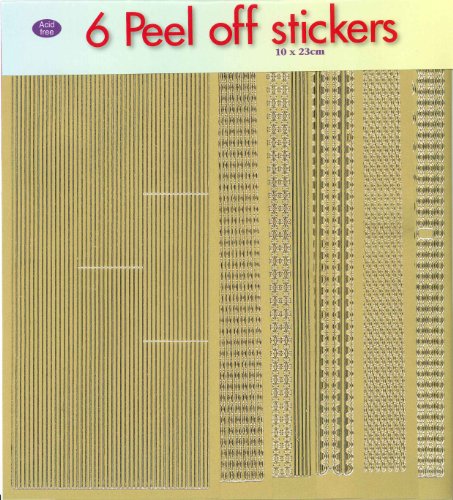
They are normally produced on a long sheet which has sticky, peel away designs and also text. They started off many years back just in plain colors of silver, gold then black but now they are available in all kinds of shades and even with rainbow varieties as well.
Note: This post may contain affiliate links for which I can be compensated.
Why Every Card Maker Should Have a Supply of Peel-Off Stickers
Peel off stickers are so easy to use inexpensive and very flexible. I often make handmade cards which make use of them because they really can add in just the perfect finishing touch.
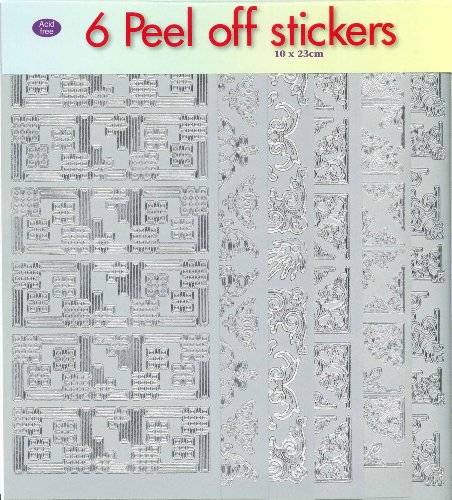
You can see how silver color peel off stickers were used here below in my wedding card example as corner flourishes and subtle decoration.
When you've been crafting for a really long time, the chances are that you will gradually build up to having a large quantity of these.
I've got a whole drawer full since I do tend to use them a lot and particularly when creating handmade cards for friends and family. Here's my top tips on how you can get the most of these inexpensive and handy stickers.

Peel Off stickers have been applied in the corners, on the butterfly embellishment and added as decorative dots around the card. Nothing gets wasted on a sheet of these.
Image Credit: photo belongs to the author.
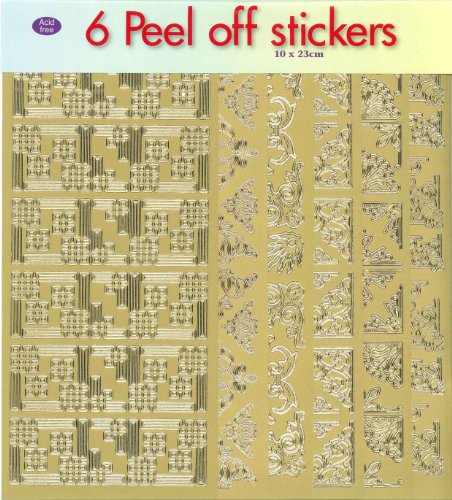
My personal favorite types of these unique outline stickers include the decorative and fancy corners and borders.
These are just perfect for traditional handmade Wedding cards, simple greetings and sentiments such as Happy Birthday and Thank You, and Numbers such as 18th and 21st.
Border and Corner Peel Off Stickers


Peel off stickers are very quick to take off the backing sheet and add on to cards, envelopes, letters and scrapbooks.
You can find out how to remove and apply these stickers near the end of this article, if you don't already know how. Here's 7 ideas and tips for how you can use your stash.
Tip 1) Use Peel Off Stickers to Add Simple Greetings and Sentiments
One major use of these peel off stickers is to add in a simple greeting, text and numbers to your finished cards, papercrafts and scrapbook designs.
You can get just about any greeting or sentiment you can think of with these and they make a neat alternative to handwriting and are also quicker to use than having to print your own greetings out.
But, if you've ever tried, you'll know that sticking your Happy Birthday or Merry Christmas text down perfectly straight is not so simple.

Example of a Dad sentiment sticker lined up across a tag.
Image Credit: photo belongs to the author.
How to Stick Peel Off Stickers on Straight
The traditional technique for aligning anything would be to mark out a faint pencil line with a ruler to use as a guideline. But then you risk spoiling your completed project when you come to erase the pencil marks later on. There's a much simpler method you can use:
- Grab a Post-It note and position it down level, with the top edge being where you want the greeting to go.
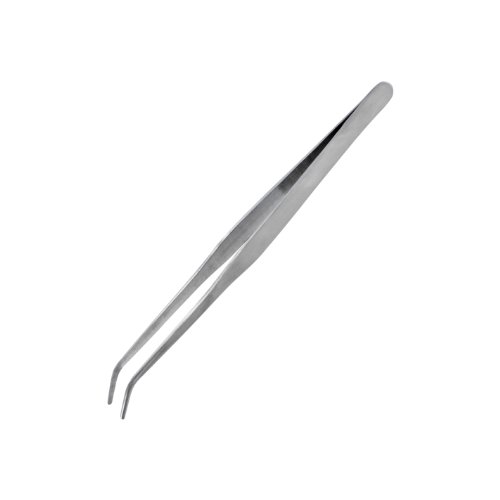
- Hold your peel off sticker by its top edge, craft tweezers are useful for this. Tweezers make it easy to see where you should align the bottom of the sticker against the top edge of the Post-It note. Gently press the top of the sticker down.
- When you're happy, just carefully remove the Post-It and your peel off will be sitting completely straight. This technique works every time.
Post it notes provide a fabulously easy way to ensure that embellishments being placed onto a handmade card, scrapbook layout or anything else are placed down neatly, straight and where you want them to be.
Tip 2) Add in a Splash of Color with Stickers
Outline peel offs, the kind that leave hollow sections and shapes once removed from their backing sheet, can be colored in to great effect.
You can use double ended markers, gel pens, felt markers, chalks, colored pencils, paints, glitter, tissue or anything else you can think of.
HOTP Heart Outline Stickers in GoldTulips Peel Off Stickers in SilverBirds Peel Off Outline Stickers in BlackBig Butterflies Peel Off Stickers Gold
 Tulips Peel Off Stickers in Silver
 Birds Peel Off Outline Stickers in Black
 Big Butterflies Peel Off Stickers Gold
You can easily achieve a splash of color simply by placing your sticker over some rainbow colored paper which can look very effective too. Pearly papers used under the peel-offs can create some beautiful backgrounds.
There are special crafting chalks, try Pebbles Inc, that come set like dry watercolor paints into trays. Use a hard bristle paint brush or a cotton wool ball to pick up some color from the chalk and and rub this liberally over some textured paper or card.
It's easy for you to do a wash of different colors down the page. When you're done, use some kitchen paper towel to rub the colors into the grains of the paper. You'll be left with a subtle but beautiful rainbow color background.
Place some outline stickers on top of your newly made rainbow paper. You can either leave them as they are or add additional color with chalks to highlight areas. If you want to add more color, you'll need to use some fine applicators and cotton ear buds work great. You can get a much richer effect this way.
Glossy Wet Look Color Ink Pens
These Are My Favorites for Coloring inside the Designs of the Stickers
Get Sakura Glaze Glossy Ink Pens at Amazon.com
UK Readers: Get These at Amazon.co.uk
I'm an adult who has never tired of coloring. I still enjoy adult coloring books and I always jump at the chance to help my daughter with her doodle books. These special Sakura Glaze Glossy Ink pens are beautiful and different.
They give a special wet-look glaze once dry. They do take a little while to dry so be careful with them or they will smudge during the drying time.
They are a wonderful way to add your own doodles or sentiments to hand-crafted items or to sign off personal documents, envelopes and greeting cards. I also love to use them to color inside the outline stickers which gives a little bit of a stained glass effect.
Tip 3) Get the Most from Every Peel Off Sticker Sheet
So you've used all your stickers and there's nothing else you can do with the sheet, right? Wrong! Keep your left-over sheets as it's amazing how much more you can get out of them.
If you've a paper trimmer, you can shave off thin strips from the edges to use as borders to frame areas on your cards and scrapbook layouts.
Use craft punches and scissors to cut out small designs from the left over parts; certain punches work better than others on sticky sheets, so experiment.
When you remove these outline stickers, they leave tiny oddments and shapes behind. With left-over shapes like circles, you can remove them with tweezers and use as faux eyelets or brads. You can see on this butterfly here below, I’ve used some of these left-over pieces as decoration on the wings.

Example of using left-over pieces on the sticker sheet. Here they have been added to the butterfly.
Image Credit: photo belongs to the author.
Did you know that you can also lift-off the entire left-over design. All you need is some low-tack masking tape.
Press this over the design and rub with a popsicle craft stick or the back of a small spoon. Gently peel away the tape, stick onto your chosen project, rub with your thumb and carefully remove the low-tack tape. Ta Da!
Tip 4) Make Your Own Background Designs
Ever looked at a blank card or envelope and thought it looked a bit plain? Well you can jazz it up in an instant by making a background design with these peel offs.
Many small and simple designs look good when randomly applied to a card blank. Even greetings like Happy Birthday look good, especially if placed at a slanting angle.

Example of making a background design on a card using stickers as a repeat pattern.
Image Credit: photo belongs to the author.
Place your stickers in a random fashion all over the card or make a repeating pattern with some of them going over the edges of your card which helps the design to look much more natural. Just trim off any overlapping bits when the design is complete.
The finished result appears as though your card has been embossed. Try silver stickers with silver or white card and gold with gold or cream card for that beautiful embossed effect.
Tip 5) Changing the Color of the Peel Offs
Like many crafters, I've got tons of silver and gold color outline stickers. But sometimes I want a specific design in a color to work with my paper crafting project.
That's where special marker pens come into play and you used to be able to get them specifically for these stickers although they are now rather hard to find.
You can also use regular permanent markers like Sharpies which color them in too. Mostly I use a black pen over silver stickers.
Sometimes I'll use pink or blue which is great for baby themed projects. The trick is to color over a light shade like silver or white, otherwise you may get a different shade than intended.

Example of a handmade card with a black outline peel off sticker design.
Image Credit: photo belongs to the author.
Black looks classic and very dramatic when you place the sticker over chalked rainbow papers. Color over your peel off while it is still on it's original backing sheet, allow to dry, then remove it to stick.
You can use regular permanent markers like Sharpies but be aware that they don't always have quite the effect you were expecting. It's good to test it out on a spare corner of the sheet.
Tip 6) Layering Up Stickers for a 3D Effect
These can look fab when layered up. Simply place your sticker onto card or paper, cut around the whole design with some sharp scissors and layer it up on your card blank with 3D foam squares or glue dots. Floral designs normally look good using this technique.
If you have any butterflies or dragonflies, just attach their middles to your project so you can bend up their wings to add in some dimension.
Tip 7) How to Remove and Use the Peel Off Stickers
If you've got long nails, you should find it easy to lift up an edge of a sticker and gently pull it away from the backing sheet. Otherwise try some craft tweezers. Don't be afraid to fold back the sheet slightly, making it easier for you to grab hold of an edge.


Once you've got hold of your design, let it relax for a moment before you stick it down on your project. This just gives it a chance to resume its original shape. Have fun trying out some different techniques for your own card making and crafts.
Related Content You Should Also Love:
Card Making Designs and Inspiration Using Alphabet Die Cuts
How to Use 3D Scrapbook Adhesive Squares
Ideas for Storing Your Stickers
More Papercrafts to Enjoy
How to Use 3D Scrapbook Adhesive Squares
Ideas for Storing Your Stickers
More Papercrafts to Enjoy
Page Last Updated:


Hi, love your site, all the things you demonstrate are great, the Box card was magic, my son who is a Mechanic loved it he took it to work and displayed it in the lunch room thank you for a very enjoyable and easy to follow instructions. Christine from Australia
ReplyDelete