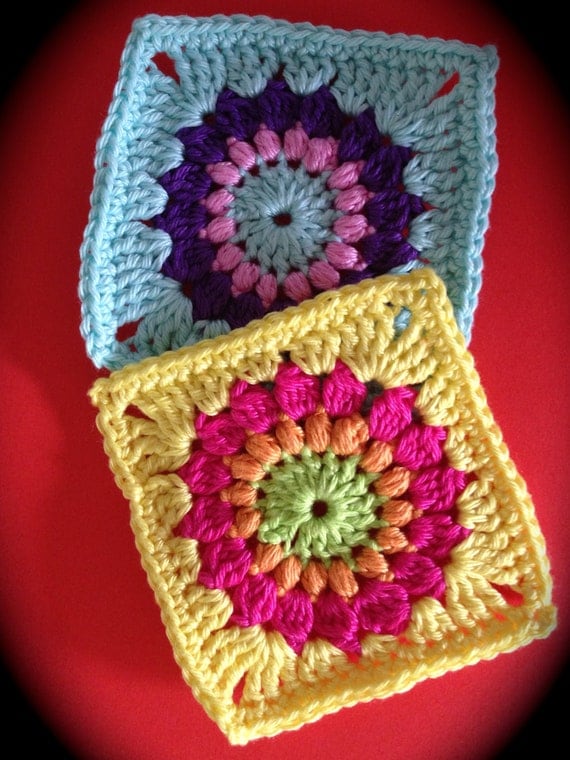
Sunburst Crochet Pattern Tutorial Part 1

Enjoy the first part of an easy and quick sunburst crochet pattern tutorial. This is the first part of a simple to make granny square. Ideal for those who know the basics of crocheting.
This section focuses on making the central, circular, part of the sunburst granny squares. You can also incorporate these designs into something else if you wish. I've seen them used inside both hexagonals and squares. My second part of this tutorial will show you how to make up the squares.
This is a great pattern to use up oddments of yarn since you can do a lot of color changing. Alternatively, you can stick to using the same color throughout. I did test this pattern with the same color and it wasn't for me. It looks better with lots of color added in.
Note: This post may contain affiliate links for which I can be compensated.
Crochet Materials and Tools Needed
- A selection of yarn colors. 3 for each circular sunburst motif works well
- Crochet hook size 4 - 5.5 mm (F, G , H or I)
- Scissors or thread snippers.
A Note on the Free Sunburst Pattern
All the stitch instructions here are in US terms. There are many conversion charts online if you don't follow US terms yourself for crocheting.
This sunburst design uses a basic set of stitches so is great for those who are just past the beginner stage. You will need to learn how to crochet in the round if you don't already know (I do my best to explain this in the tutorial) and you also need to know how to join on new colors. YouTube is the place to visit for learning these things.
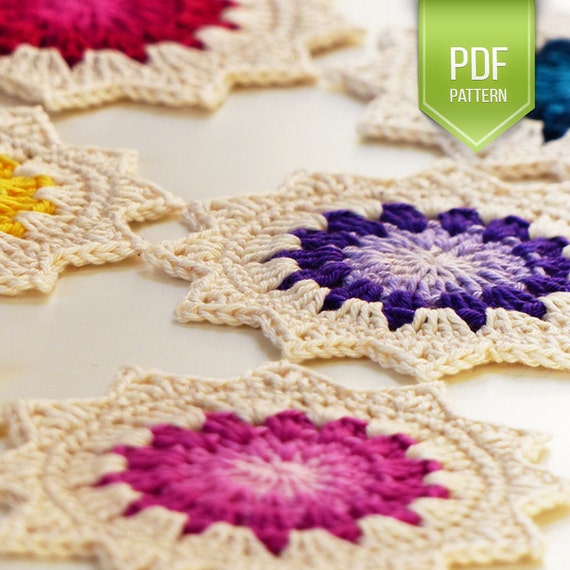
There are lots of different variations on this particular pattern. This is the one I happen to like because it's only got 12 "petals" which are quicker and so much faster to work up than the 16 or so which is much more common.
Basic pattern instructions are provided at the beginning of each step, after each photo, and highlighted with italics. Experienced crocheters should be able to simply follow the pattern instructions for each step. Further commentary is provided as well in order to help those who need more detailed explanations.
How to Make a Sunburst Crochet Pattern Motif With Step by Step Photos to Follow

Step 1: Round 1: with your first choice of yarn color, make a slip knot on your hook and chain 4. Slip stitch (ss) back into the first chain you made to make a ring. Chain 3 which counts as the first double crochet stitch.
With this first step, you want to choose a yarn color that will look good in the middle of the design. Any medium weight yarn or a cotton would be a good choice.
Even if you're using up lots of scraps of yarn for this project, you really want them to be roughly the same thickness so you get consistent sizes across each motif.

Step 2: Chain 1 then work a double crochet stitch (dc) into the center of the circle, chain (ch) 1 again.
The chain 1 will create a space which you can crochet into easily on the next round. Double crochet is a quick stitch to work and adds in some instant height.
The chain 1 will create a space which you can crochet into easily on the next round. Double crochet is a quick stitch to work and adds in some instant height.

Step 3: Double crochet (dc) and chain (ch) 1 another 10 times.
This is a simple pattern with double crochet stitches followed by a chain 1. You should end up with 12 double crochet stitches (which includes the chain 3 that counts as a dc stitch in step 1) plus 12 spaces created by the chain ones.

Step 4: Slip stitch (ss) back to the beginning to finish off this round.
Once you've got to this point, you've made your central circle. If you want to stick to having these look like flowers, you may want to use yellows and oranges in this middle area.
Once you've got to this point, you've made your central circle. If you want to stick to having these look like flowers, you may want to use yellows and oranges in this middle area.

Step 5: Round 2: with your next choice of color yarn, fasten your color into any chain 1 space made in the previous round. Either chain 3 or make a standing double crochet to start off.
I've used an orange shade of yarn here to contrast well with the darker pink so you can see it better. In this round, you are crocheting into the spaces that you created from the chain one's you worked in round 1.
The chain ones you worked created natural spaces that are easy for you to crochet into. You can start off with a standing double crochet if you know how this is done or just fasten on and chain 3 instead.

Step 6: Make a double crochet (dc) stitch into the same space. Chain 1.
The pattern you are now working is to place 2 dc stitches into every space around the circle and chain 1. It's a very easy repeat to follow.
The pattern you are now working is to place 2 dc stitches into every space around the circle and chain 1. It's a very easy repeat to follow.

Step 7: In the next space along, work 2 dc stitches and chain 1. Repeat this pattern in every chain space around the circle then slip stitch back to the beginning of the round to fasten off.
The first round was 1 dc followed by 1 chain stitch.
This round is 2 dc followed by a chain stitch. Just work this all the way around your Sunburst circle and you should end up with 24 dcs and 12 spaces between the pairs.
The first round was 1 dc followed by 1 chain stitch.
This round is 2 dc followed by a chain stitch. Just work this all the way around your Sunburst circle and you should end up with 24 dcs and 12 spaces between the pairs.

Step 8: Round 3: with your next choice of color yarn, fasten your color into any chain 1 space made in the previous round. Either chain 3 or make a standing double crochet to start off. Now make 2 more dcs into the same space and chain 1.
This round is just placing 3 dcs into each space and doing a chain 1 stitch all the way around.
This is such an easy pattern to understand and do by heart once you get going. Nothing complex or hard to remember.
This round is just placing 3 dcs into each space and doing a chain 1 stitch all the way around.
This is such an easy pattern to understand and do by heart once you get going. Nothing complex or hard to remember.

Step 9: Work 3 dcs followed by a chain 1 into every space around the circle.
You can see how the "petal" sections are starting to form as you work this round. Working into the spaces pushes the clusters of stitches together to look like petals.
You can see how the "petal" sections are starting to form as you work this round. Working into the spaces pushes the clusters of stitches together to look like petals.

Step 10: When you get to the end of the round, slip stitch back to the start and fasten off.
If you turn your sunburst motif over to the wrong side, it may look like this. If you've been working over your yarn ends as you've gone along, you may want to just snip them off now to tidy it all up.
Clover Chibi Darning Needles Are Ideal to Sew in the Loose Yarn Threads


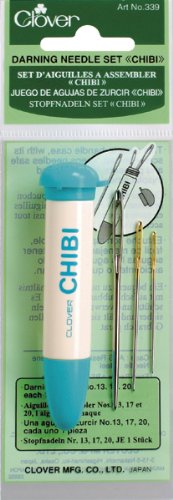

I prefer to sew in the ends of the yarn threads with some darning needles so all the crochet is nice and secure.
I use and recommend Chibi darning needles which are shown above because they are blunt ended and do not snag the crochet.
There are 3 handy sizes of needle for different yarn widths and a secure storage for the needles. I love the screw top which prevents needles tipping out in your crochet project bag or basket.

This is the end of part 1. There is a link to part 2 of this tutorial below which will show how you take this circular motif and work it into a granny square.
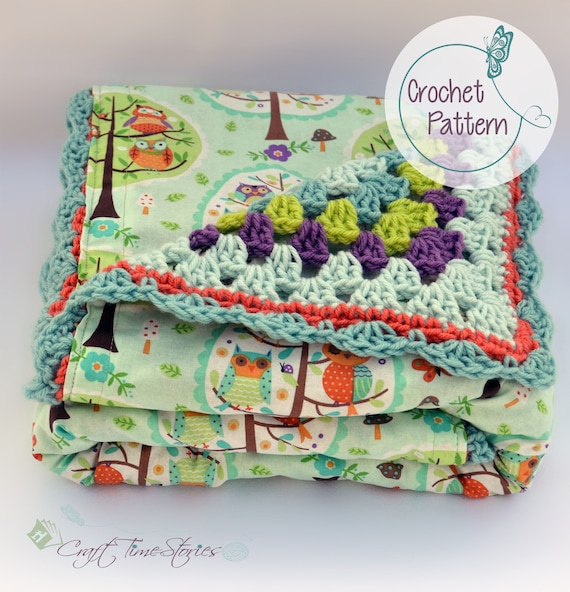
Part of the appeal of this design is in being able to use lots of different shades and colors. Once I had enough squares, I made cushion covers from mine. You can also work up blankets and throws pretty quickly with this pattern as well.
Part of the appeal of this design is in being able to use lots of different shades and colors. Once I had enough squares, I made cushion covers from mine. You can also work up blankets and throws pretty quickly with this pattern as well.
If you're intending to make cushions or even a blanket from these, you will need lots of these completed squares.

As an example, I needed 18 finished squares per standard cushion cover size. And you'll need a lot more for a throw or blanket. Luckily they are pretty fast to crochet once you get the hang of the pattern.
This is a good project to work on, getting these central sunburst motifs done, maybe from your yarn scraps. My next post will show you how to carry on and make the squares.
Related Content You Should Also Love:
Tutorial for an African Flower Crochet Motif
All the Essential Beginner Crochet Supplies and Tools
How to Make Yarn Tassels to Add to Cushions and Blankets
Mini Crochet Strawberry Plush Pattern
More on Crochet to Enjoy
All the Essential Beginner Crochet Supplies and Tools
How to Make Yarn Tassels to Add to Cushions and Blankets
Mini Crochet Strawberry Plush Pattern
More on Crochet to Enjoy
Page Last Updated:


This is exactly what I was looking for - thank you so much! Due to my disability, I don't have a lot of time that my hands are functional enough to hold a crochet hook for any reasonable length of time. I was looking for a pattern that looks great but wouldn't take a long time to make. I can make more difficult patterns, but going that route can make one blanket take a couple of years to make :P
ReplyDeleteI'm so glad you found what you were looking for :) As you say, this pattern really looks great and my friends and family have all been wowed with it and think it looks complicated. It's not complicated at all. So exactly the kind of thing I like to crochet - easy stitches, fast to work, good looking result. And you can use up any smaller pieces of yarn you have while doing it. Enjoy making your blanket.
DeleteGreat pattern - easy to follow instructions and pictures - exactly what I was looking for! Thanks for the time and effort to post this. Michele
ReplyDeleteThanks, Michele. So glad you found what you were looking for with this sunburst crochet pattern.
Delete